Main course Original recipe with Chinese and Japanese influences
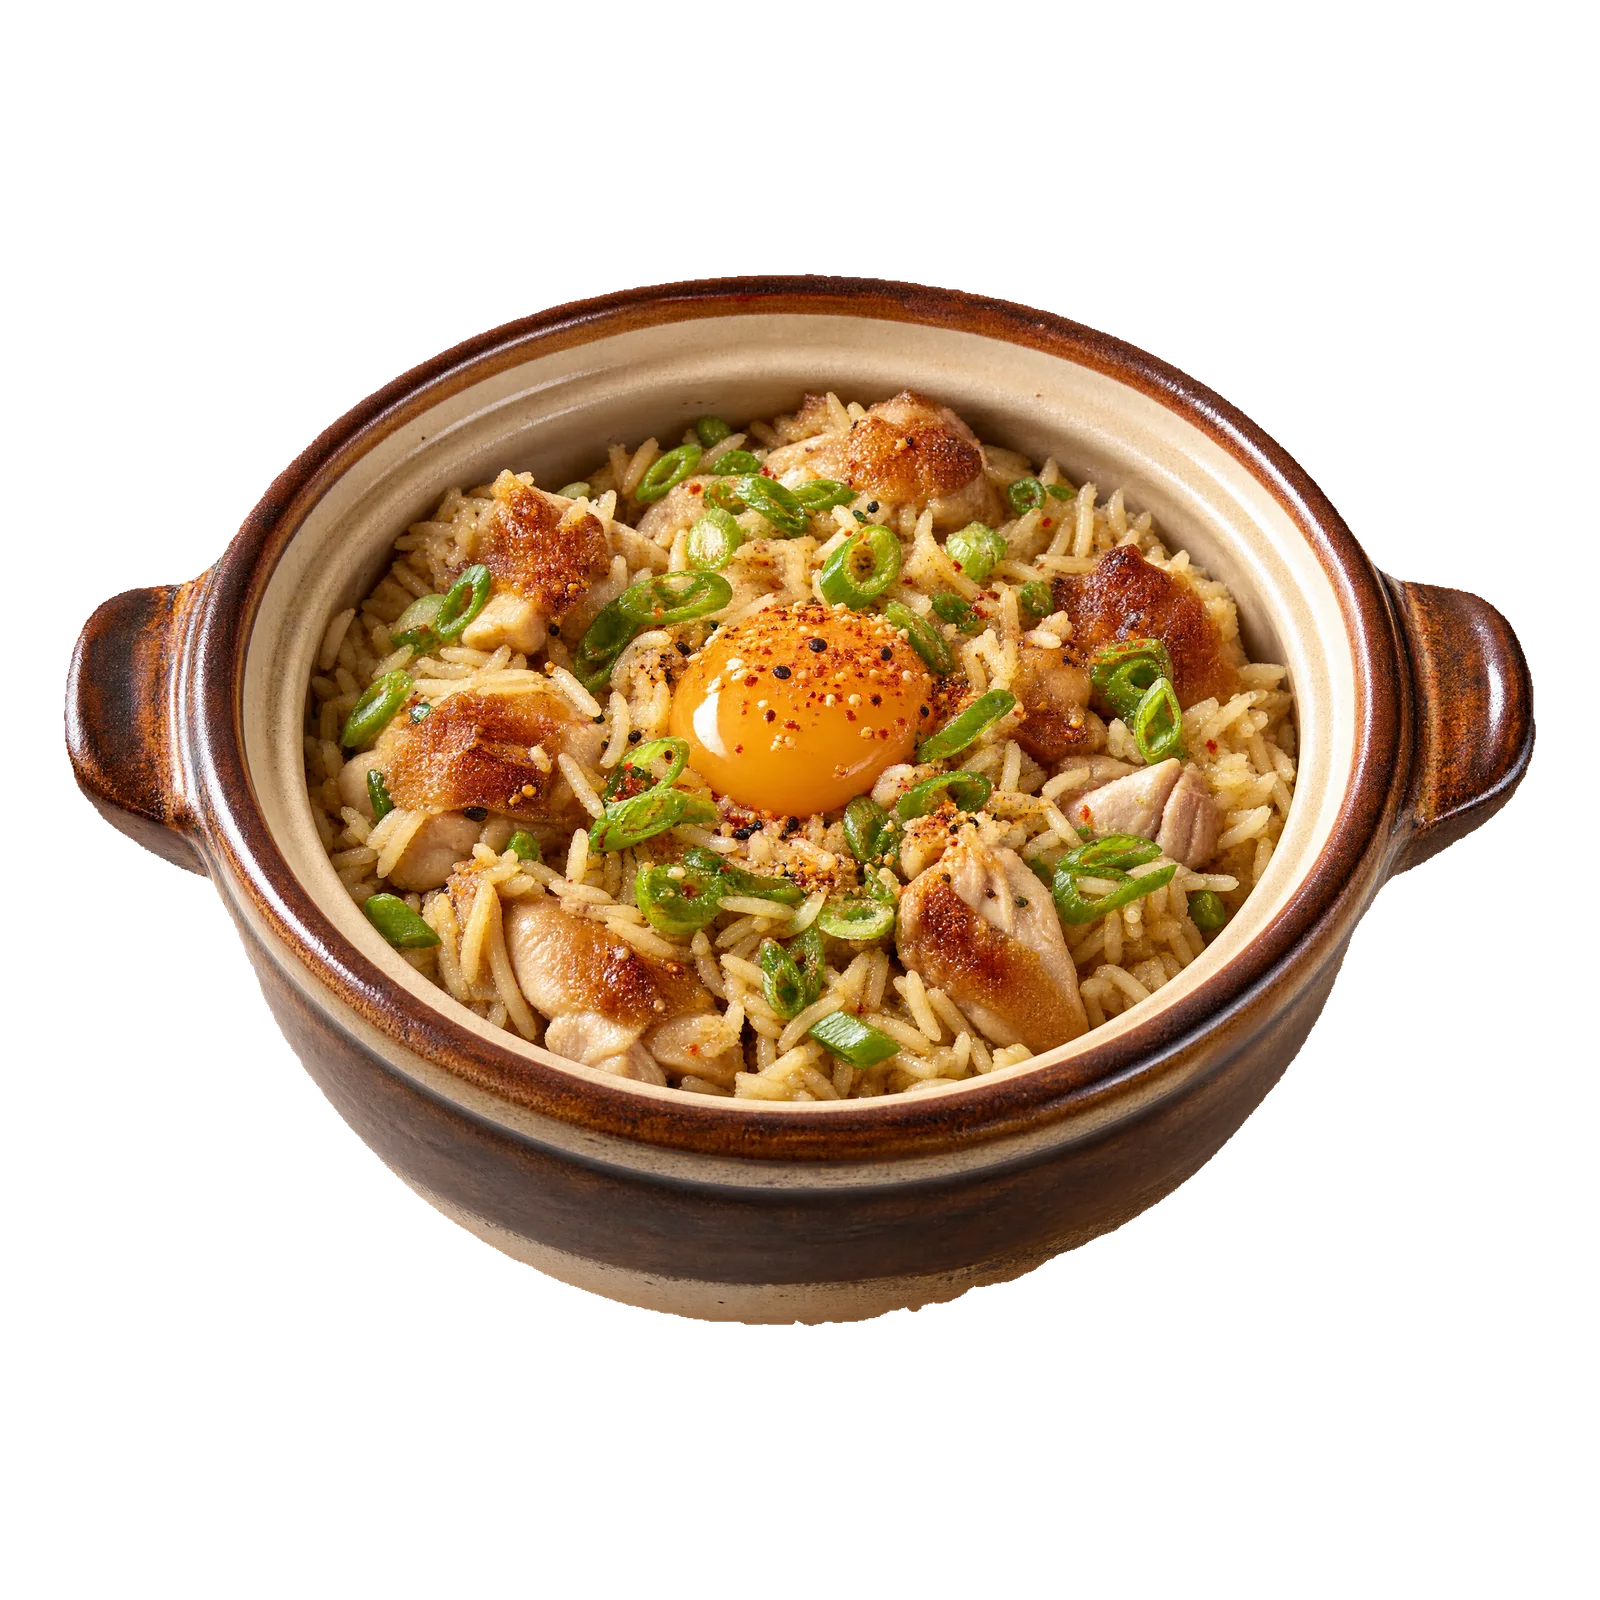
Claypot chicken and rice
Editorially prepared
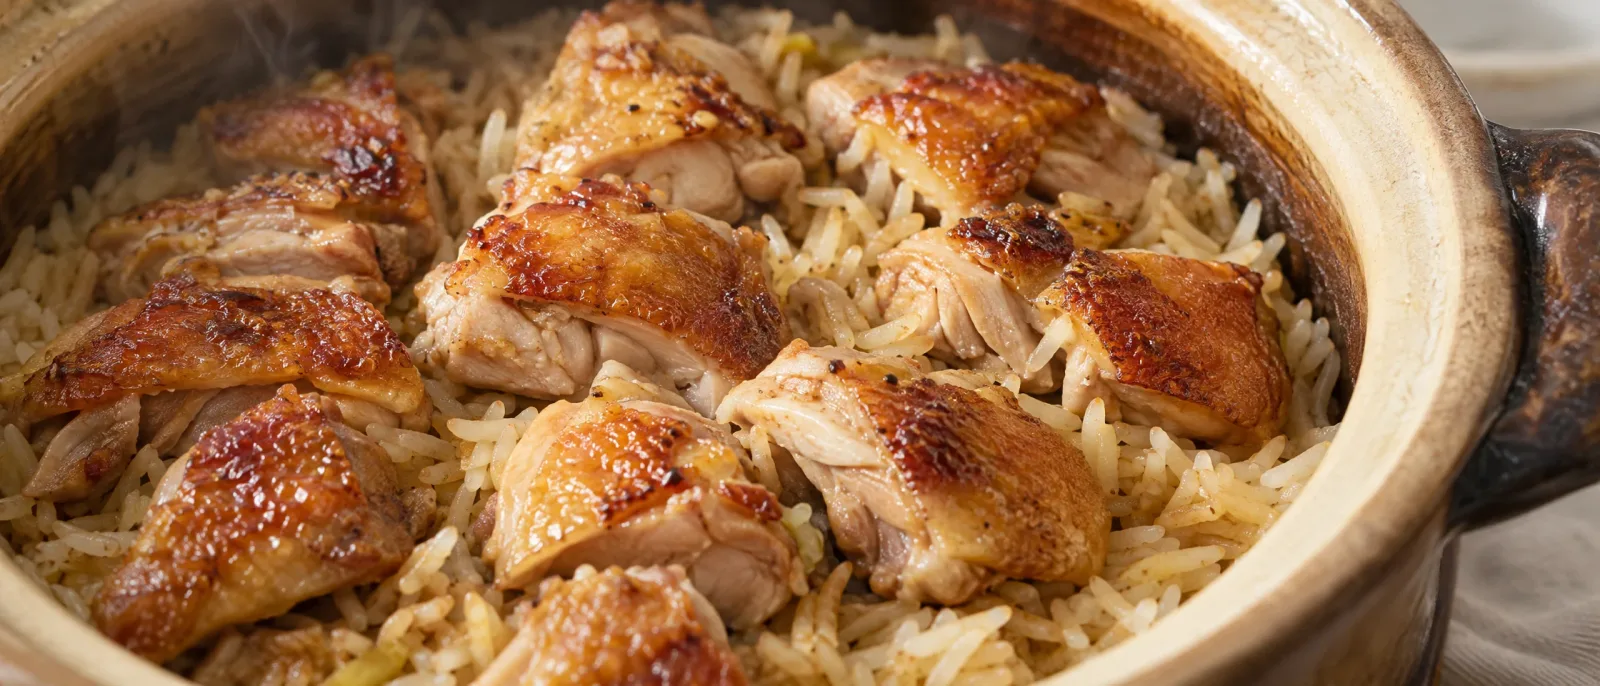
Browned skin-on chicken with basmati rice cooked in miso stock, ginger and spring onions. Teriyaki and a lightly marinated yolk are stirred through just before serving.
Plan this meal
Set your servings and add the meal. Open your plan to choose more meals and find your combined shopping list.
COOK YOUR WAY
Take this recipe to the kitchen
Start a session to tick off ingredients and steps and use timers.
Ingredients
1 serving · metric units
For more servings, sear the chicken in batches and use a suitably larger pot. Keep the rice in a reasonably shallow layer. Do not multiply cooking times by the number of servings; check the rice for tenderness and measure the chicken's temperature. Extra water depends on the width of the pot and how tightly the lid fits.
Substitutions
Substitute amounts are adjusted to your selected servings.
- Instead of pasteurised egg yolkhard-boiled egg yolk
If a pasteurised egg is unavailable, use a fully set yolk from a hard-boiled egg. Marinate it in the prepared mixture in the fridge, then crumble it over the dish. It retains the egg flavour but will not form a fluid coating on the rice.
- Instead of sesame-flavoured wok oilrapeseed oil with a little sesame oil
Replace the wok oil with a blend of mostly rapeseed oil and a little toasted sesame oil, keeping the total oil quantity listed in the ingredients. The aroma depends on the sesame oil used; do not replace the whole quantity with strongly flavoured toasted oil.
- Instead of shichimi togarashichilli flakes
Use a small pinch and adjust the heat when serving. This gives a simpler finish without the layered flavour of shichimi.
Shopping for this recipe
Your list uses the selected servings and fridge. Stock quantities are unknown — check you have enough.
Optional ingredients and substitutions
You’ll need
small clay pot approved for frying on the hob, or a small heavy-based saucepan, with a lid · small, narrow covered dish for marinating the yolk · sieve · knife and chopping board · tongs and spatula · plate for the seared chicken · food thermometer · measuring jug and measuring spoons
Method
0/9 stepsMarinate the yolk
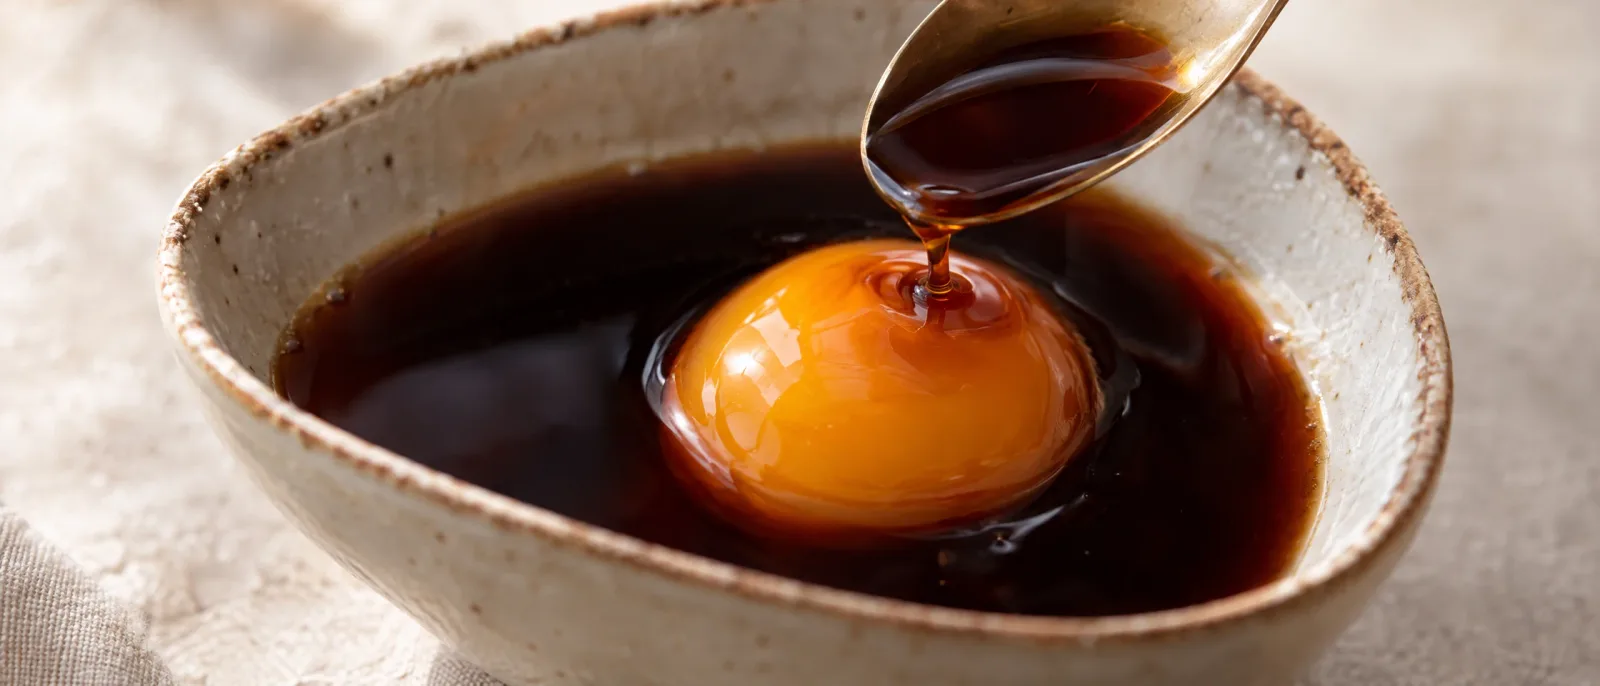
Mix the soy sauce, mirin and caster sugar in a small, narrow dish until the sugar dissolves. Carefully add the pasteurised yolk and spoon marinade over the top. Cover and refrigerate for about 30–45 minutes, starting when the dish goes into the fridge. Meanwhile, prepare the remaining ingredients and begin cooking. The yolk should be lightly seasoned rather than firm.
30:00Marinate the yolk Prepare the ingredients and pot
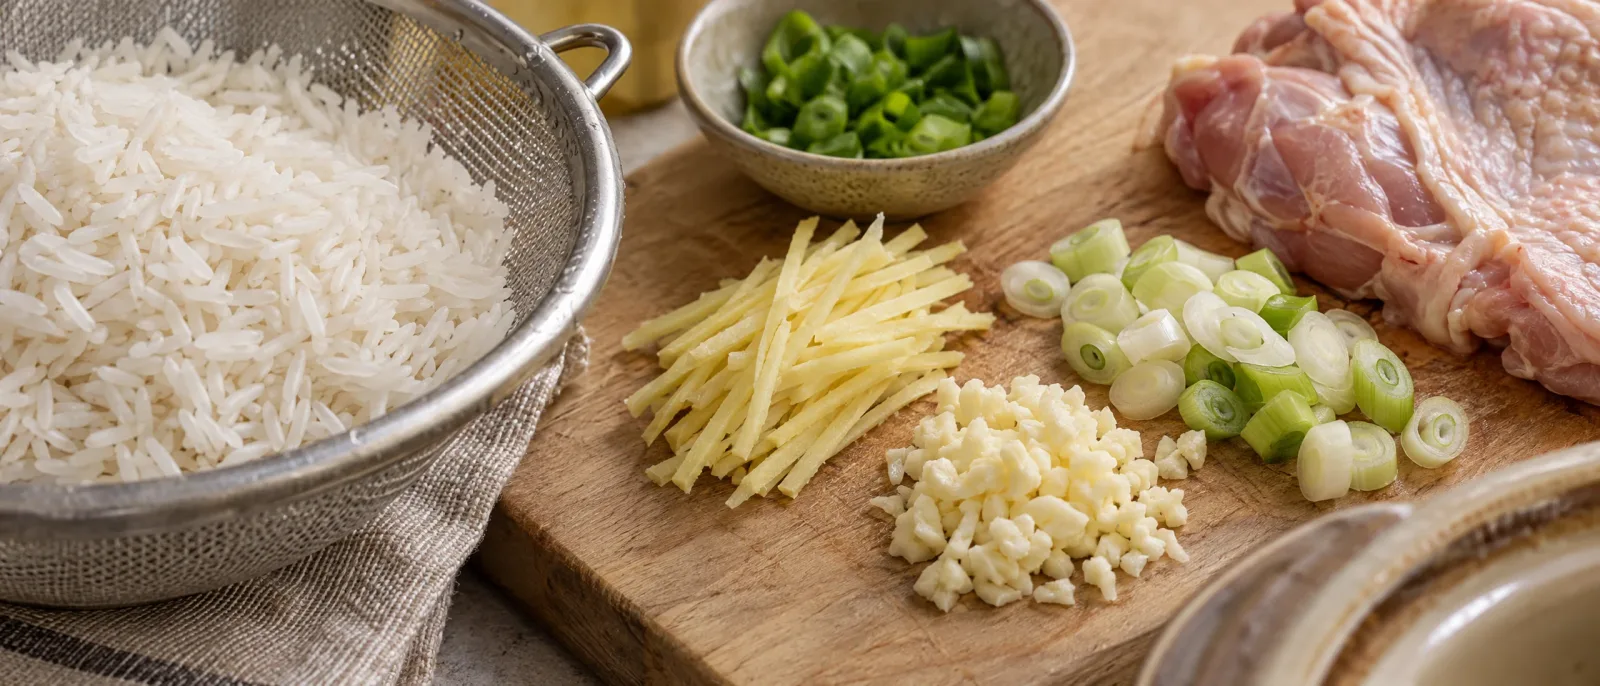
Rinse the rice in a sieve until the water runs almost clear, then drain thoroughly. Peel the ginger and cut it into fine matchsticks, chop the garlic and slice the spring onions, reserving the green parts for serving. Pat the chicken dry and open it out flat. Have the warm stock ready. Use a clay pot only in accordance with its manufacturer's instructions for frying and gradual heating; if unsure, choose a metal saucepan.
Prepare the ingredients and pot Sear the chicken
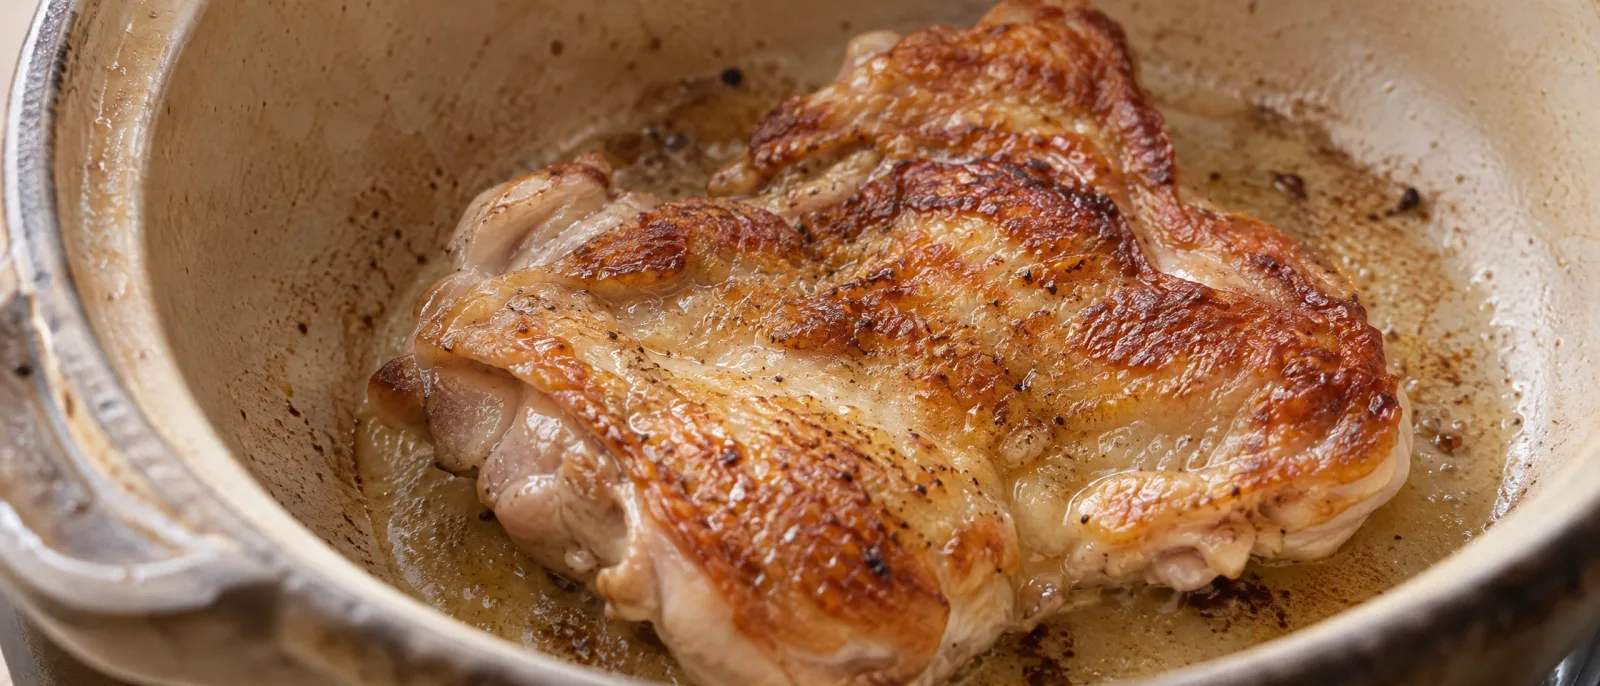
Heat a thin film of neutral oil over a medium heat, increasing the heat gradually only as permitted for your pot. Lay the chicken skin-side down. Fry without moving it for about 5–7 minutes from adding it, until the skin is golden brown and begins to release easily from the base. Turn and fry for another 2–3 minutes to lightly brown the other side. If it sticks, wait briefly rather than tearing the skin. Transfer to a plate and immediately continue with the rice; the chicken may still be raw in the centre.
Sear the chicken Soften the aromatics
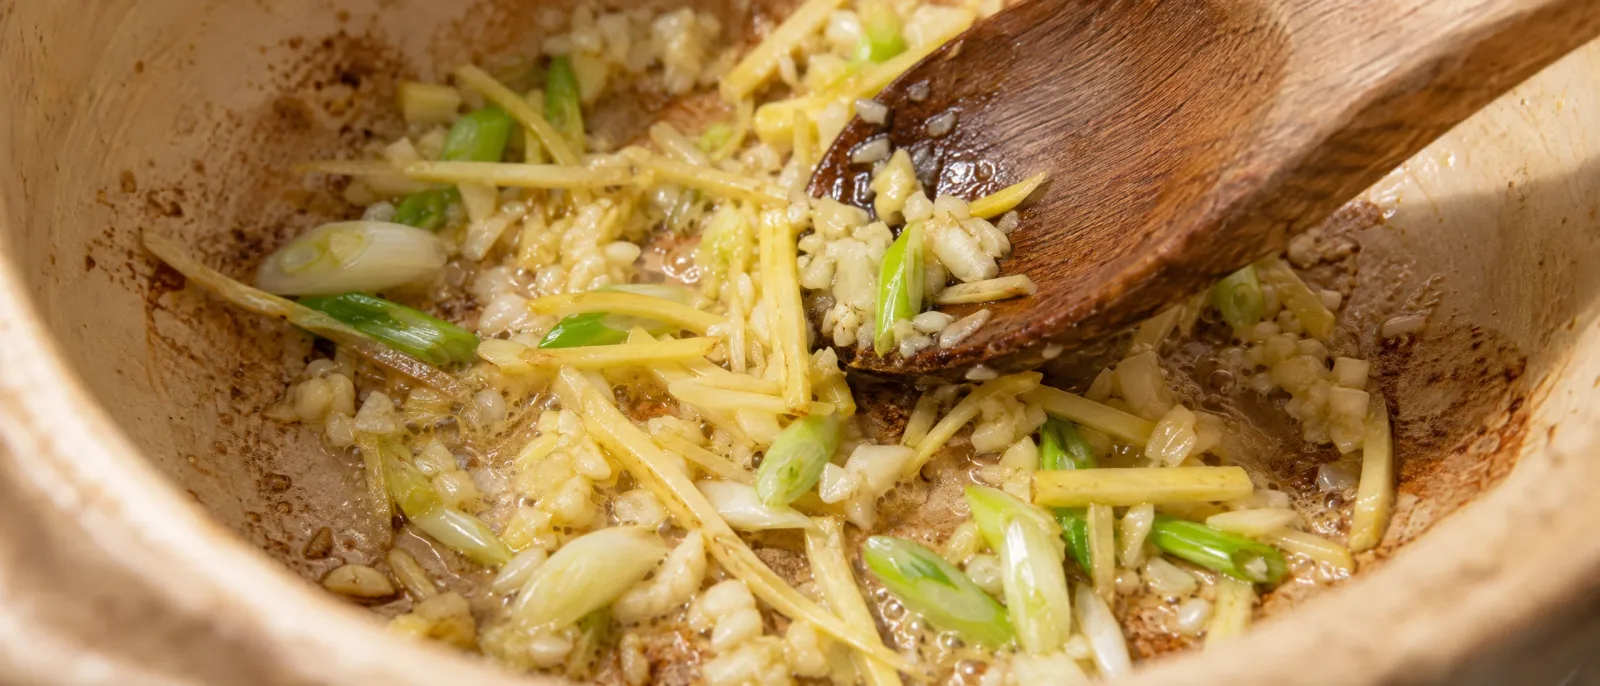
Reduce the heat to medium-low. Add the butter, ginger, garlic and white parts of the spring onions to the same pot. Cook, stirring, for about 2–3 minutes from adding them, until the spring onions soften and the garlic smells fragrant without browning. Reduce the heat if the garlic colours quickly.
03:00Soften the aromatics Start cooking the rice
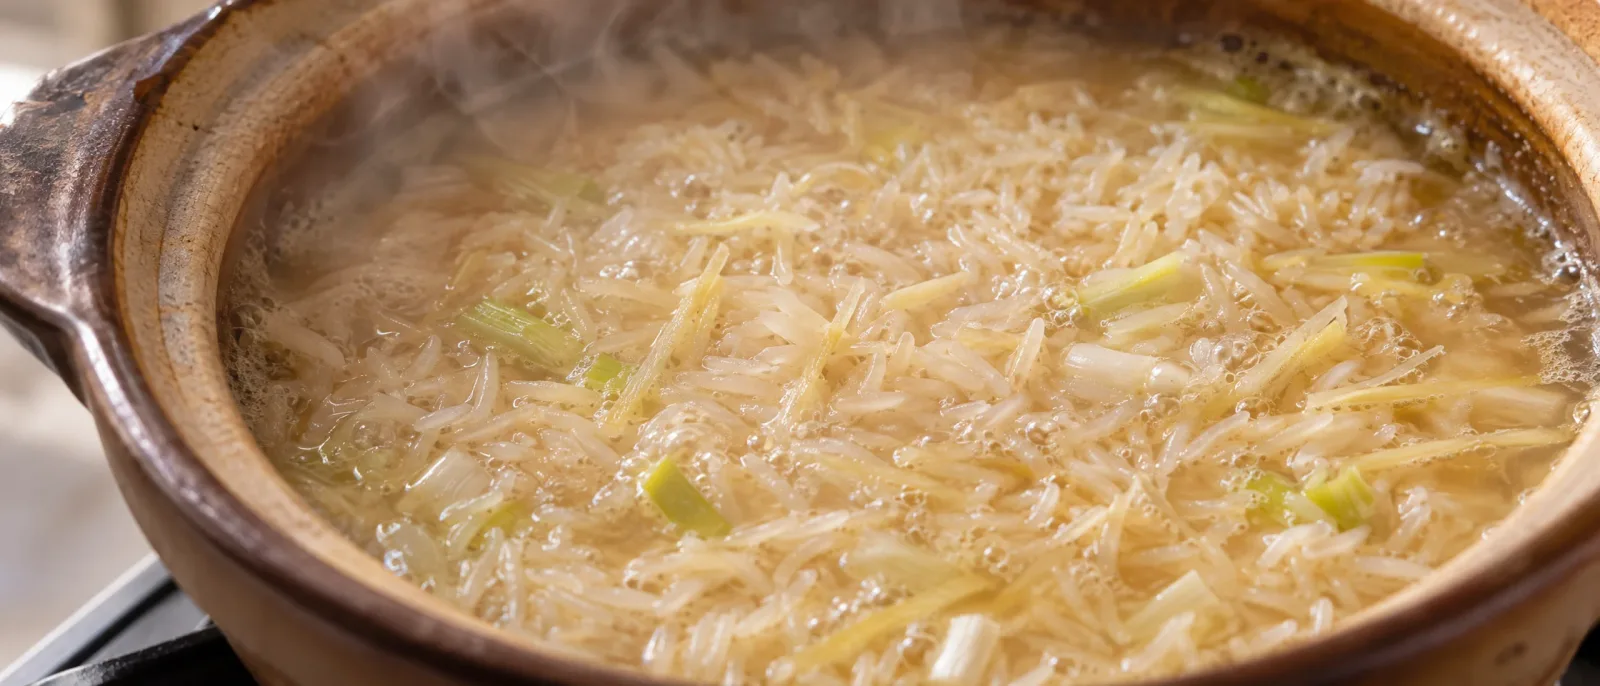
Pour in the warm stock, gently loosening the browned residue from the base with a spatula. Bring to a gentle boil and stir in the miso until dispersed. Add the drained rice, level it out and cover. Once the liquid returns to a gentle simmer, reduce the heat to its lowest setting and cook for about 10 minutes. While it cooks, move on to cutting the chicken in the next step; leave the rice cooking.
10:00Start cooking the rice Cut the seared chicken
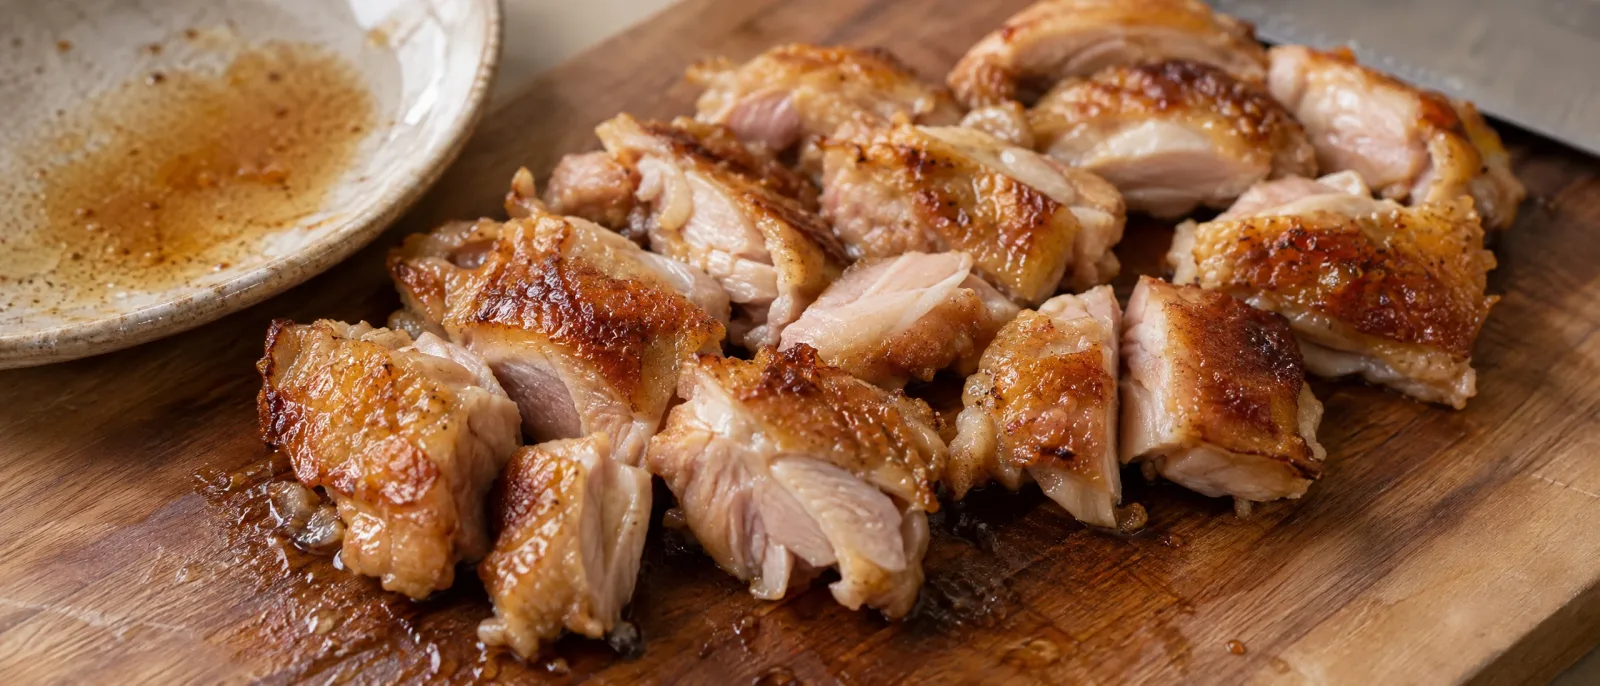
While the rice cooks under its lid, cut the seared chicken into bite-sized pieces, about 2 cm across. Keep the juices from the plate. Treat the meat and its juices as raw poultry: wash your hands, knife and board afterwards. The chicken will go back into the pot as soon as the rice has been checked; do not set it aside for storage.
Cut the seared chicken Finish cooking the rice and chicken
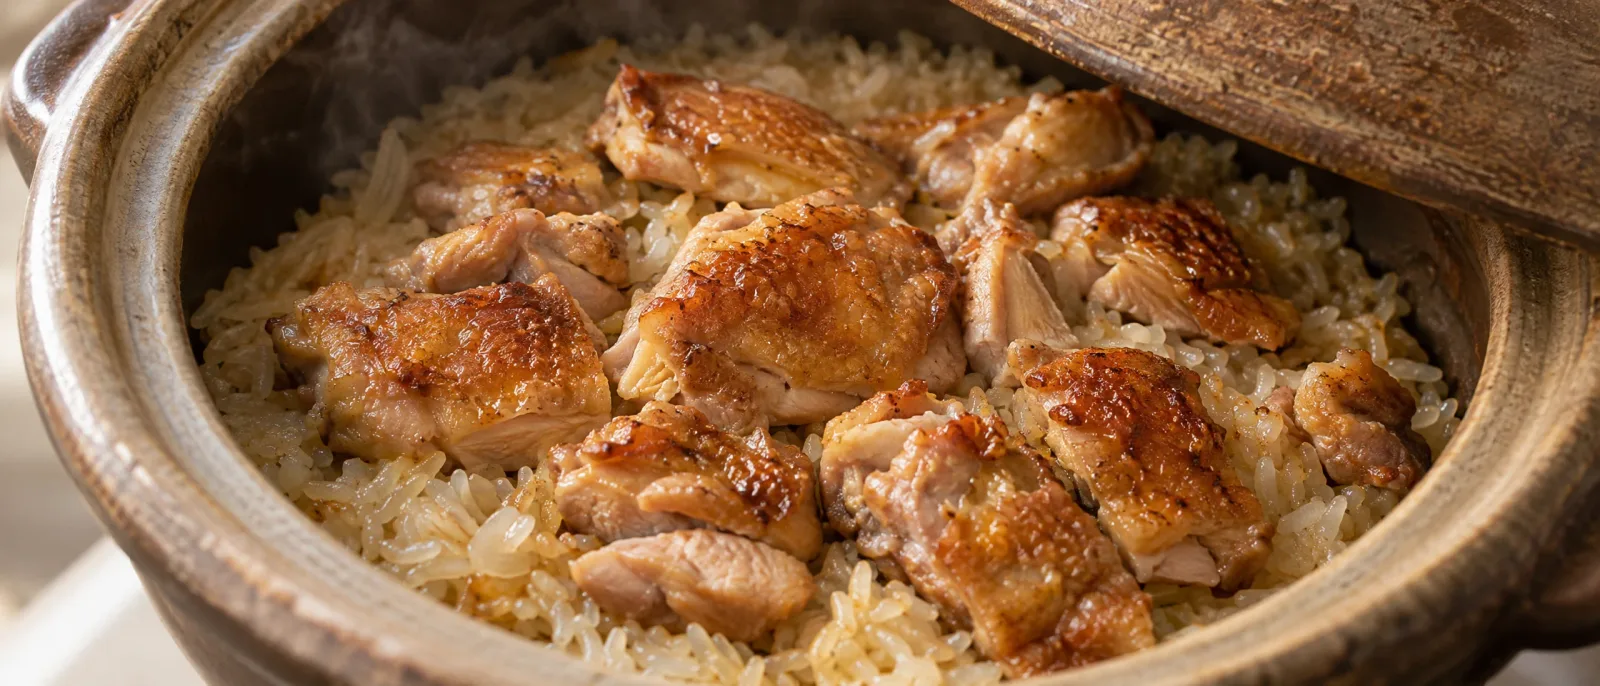
After about 10 minutes of cooking the rice, check it: most of the stock should be absorbed and the grains swollen but still slightly firm in the centre. If plenty of liquid remains, cook covered for a little longer and check again. If the pot is dry and the rice is hard, add a little hot water. Gently stir the rice, arrange the chicken and its reserved juices on top, then pour the wok oil around the inside edge of the pot. Cover and cook over a low heat for about 5–8 minutes from replacing the lid. The rice should be tender with no hard centre, and the largest chicken piece must reach 75°C in its centre for at least 0.5 minute. If either component is not ready, add a little hot water if the pot is dry and continue cooking covered, checking every 2 minutes. ([food.gov.uk](https://www.food.gov.uk/safety-hygiene/cooking-your-food?ContensisTextOnly=true&utm_source=openai))
Finish cooking the rice and chicken Rest under the lid
Once both the rice and chicken are fully cooked, remove the pot from the heat and leave covered for 5 minutes, starting when the heat is switched off. After resting, the rice should be evenly tender with no pool of liquid at the bottom.
05:00Rest under the lid Mix and serve
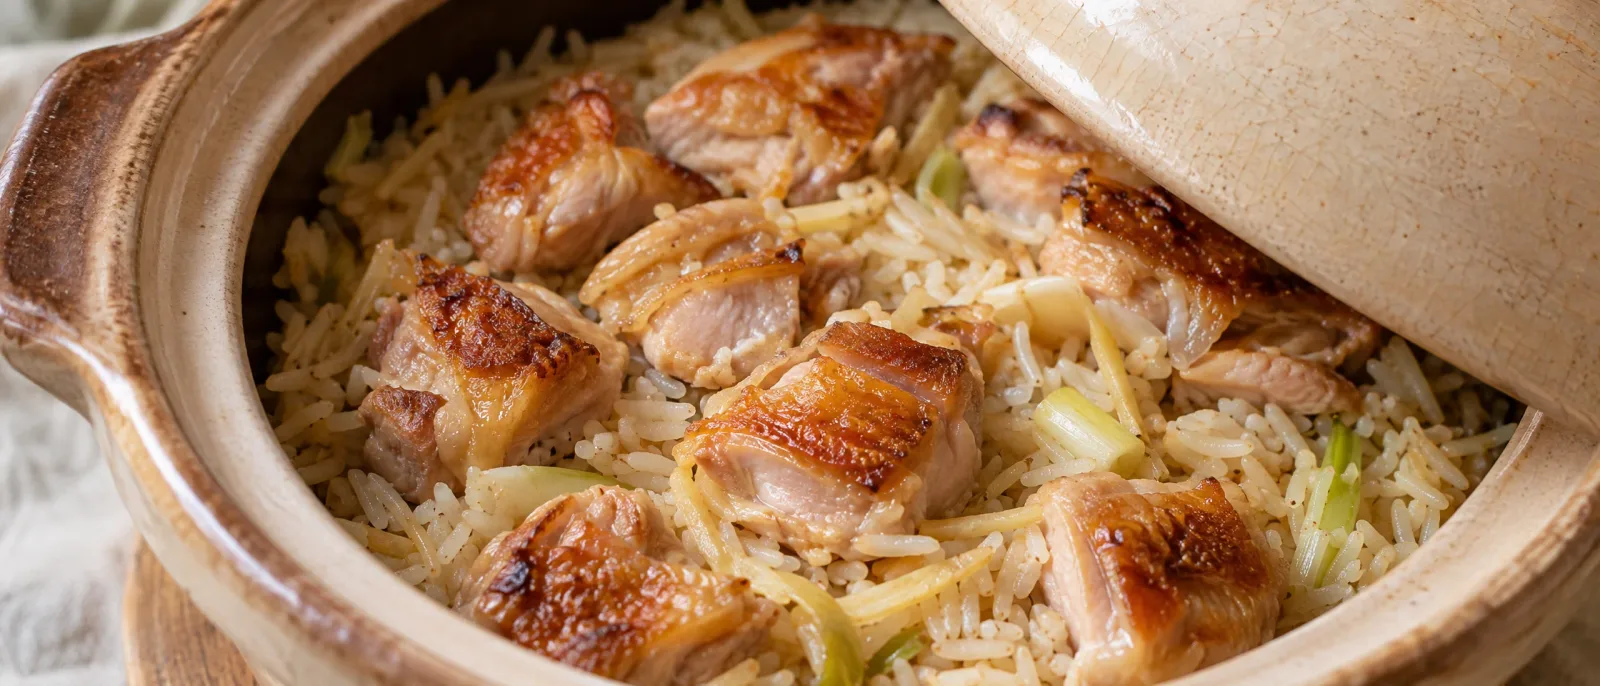
Take the yolk from the fridge: after its short marinade, the surface should be slightly darker and the yolk still soft. Carefully lift it out with a spoon, allowing the marinade to drain off; discard the remaining marinade. Drizzle teriyaki over the chicken and rice, then add the reserved green spring onion parts, the yolk and shichimi. Gently mix so the yolk coats the grains and chicken pieces. Transfer to a deep plate and serve immediately.
Mix and serve
My note for next time
Saved automatically in this browser. This note is not sent to the editors. 0/2000
Tips
- Use a small pot with a close-fitting lid. Such a small quantity of rice dries out more easily in a wide pan.
- Ordinary ovenware is not a substitute for a clay pot designed for the hob. If you are unsure about your pot, use a heavy-based metal saucepan.
- Do not automatically add salt after the miso: teriyaki and the soy-seasoned yolk are added at the end.
- Do not turn the heat up sharply to force a crust on the bottom. Tender rice and fully cooked chicken are the priorities in this version.
Storage
Best eaten immediately after adding the yolk. If you plan to keep any, set aside rice and fully cooked chicken before adding the yolk. Transfer to a shallow container, cool quickly and refrigerate within an hour; use within 24 hours. Reheat only once, with a splash of water, until steaming hot throughout. Do not store partly seared chicken to finish cooking later. ([food.gov.uk](https://www.food.gov.uk/safety-hygiene/cooking-your-food?ContensisTextOnly=true&utm_source=openai))
Timing
Hands-on: 25 min · Cooking: 32 min · Resting: 35 min